

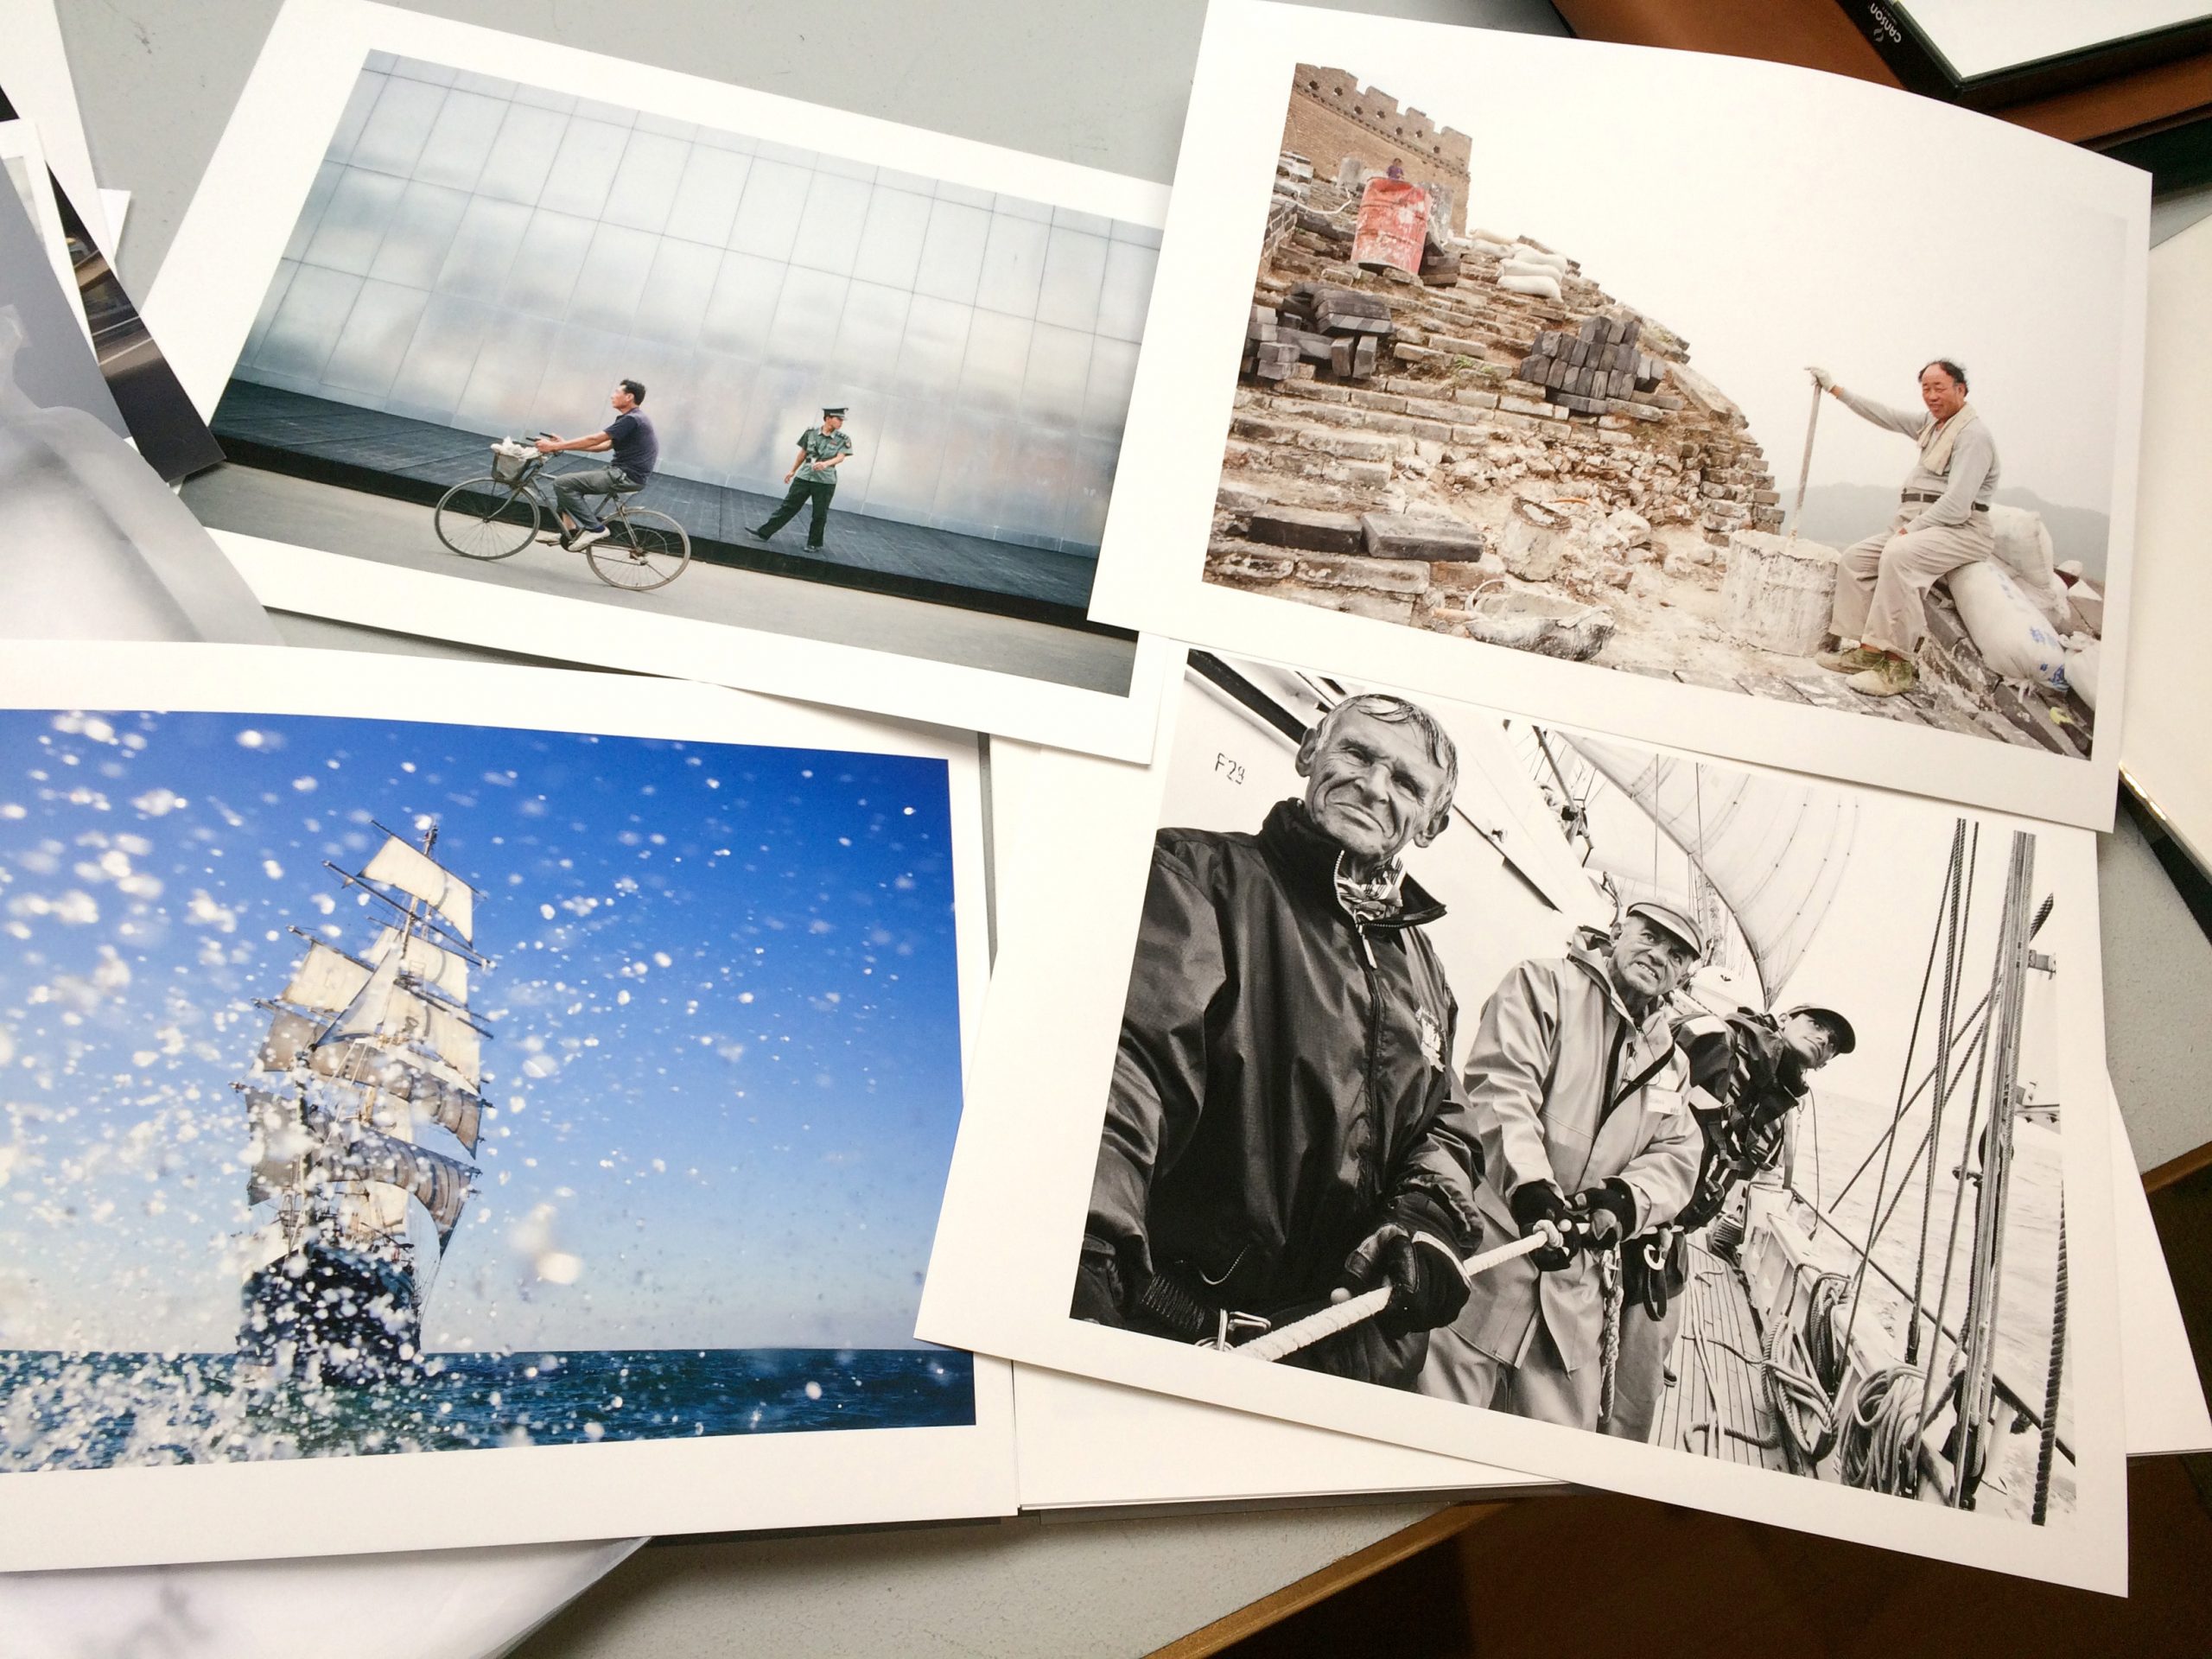
© Georgie Clarke / MPrint
We love seeing work in print, but we know that preparing digital images for print can seem complicated if it’s not something you do very often. Recently we’ve been talking with the team at the MPrint, our generous print sponsors for our upcoming ‘HOME’ exhibition with Gallery at Home, and thought it would be a good idea to invite them to share their advice and cover some of the most commonly asked questions about printing images…
This is a sponsored post in collaboration with MPrint.
Even in a digital world, the printed image still leaves a lasting impression and demonstrates a commitment to your work. Looking at a physical print is a very different experience to viewing an image on screen.
When you are planning on printing your images there are few important considerations. Along the way we hope to demystify some of the technical challenges you may come across.
Hopefully you are already choosing to shoot RAW rather than JPEG. By shooting RAW files you are keeping the most information about an image that you can work with. JPEGs are compressed files and every time you save them you lose information.
The most important thing is to check the specifications that your chosen print lab has set for the types of prints you’d like – these should be on their website but if you’re not sure, just ask!
Resolution
A common misconception: the higher the resolution, the bigger the file size or the better the file quality. In fact, file size is governed by the resolution and dimensions working together. If we take 300dpi (or ppi, points per inch) as a standard, minimum resolution for print, it is vital to understand that your image needs to be 300dpi at the size you wish to print.
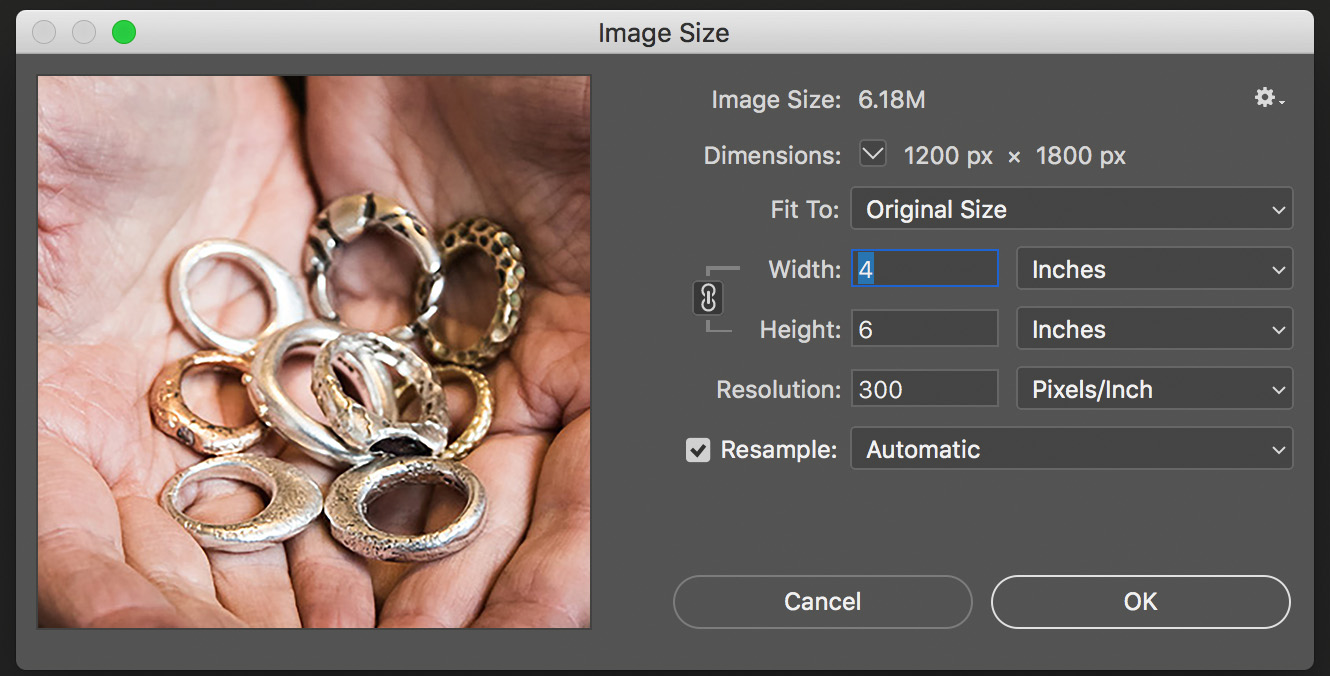
Example:
To produce a good quality 6”x4” print, your file needs to be 300 dpi at 6”x4”. For 6 inches with a resolution of 300 pixels per inch you have (6 x 300) 1800 pixels. For the other dimension you have 4 inches with 300 pixels per inch which is (4 x 300) 1200 pixels.
Your image is therefore 1800 x 1200 pixels which comes to 2,160,000 pixels in each of the Red, Green and Blue channels which make up your sensor and therefore the image. This is a total of just over 6 million pixels or 6 Megabytes (MB) which neatly matches the file size list you see below!
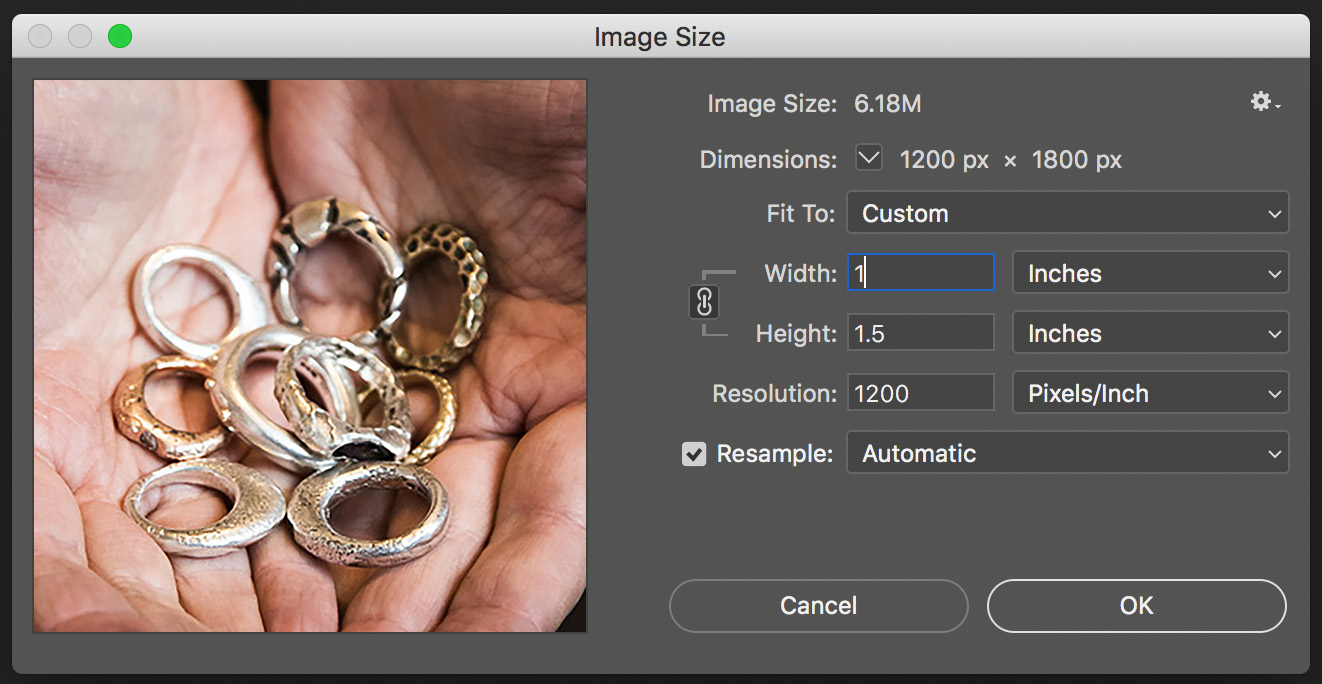
Let’s go back to our misconception: you could also have a file at 1200 dpi but if the dimensions are only 1.5” x 1” our file will be 1800 x 1200 pixels, which is the exact same size as our 6” x 4” image @ 300dpi even though the resolution is 4 times higher!
Sizing your images
It is much better to start with a larger file and downsize for smaller prints than to take a small file and upsize it to achieve a larger print. If your starting point is a small, low quality file then any issues with the file (such as jagged lines from JPEG compression or sensor noise) will be magnified when you enlarge it.
In general, the megapixel size of your camera sensor will determine the largest native file size it will produce. Take the megapixel count and multiply by three (for each of the colour channels on the sensor red, green and blue – RGB).
To illustrate: a 10 Megapixel camera will produce a 30Megabyte (MB) file and a 20Megapixel camera will produce a 60MB file.
To produce the largest available file size, whether RAW or JPEG, you now need to decide what size print to produce and how to achieve the appropriate file size using Photoshop or similar software.
Remember there is a limit to how much you can enlarge an image before it’s distorted!
Colour
We recommend calibrating your monitor to get the most accurate colours in your workflow. Check what colour profile the print company ask you to use, then check the colours look correct when you have saved with that profile. If it’s a company you haven’t worked with before or you need colours reproduced very accurately it’s a good idea to have a test print done.
You should be ready to send your files to print now, but always check one last time to make sure you saved your images correctly:
- File format – usually JPEG
- Dimensions – correct for the print size you want
- Resolution – usually 300dpi for print
- Colour profile – check with your print company
Want to know more? Find out about MPrint and their print service here.
This is a sponsored post in collaboration with MPrint.
Shutter Hub are dedicated to only sharing content that we feel is relevant and of interest to our readers. For full details and our disclaimer please refer to our Terms and Conditions here.
Would you like to connect with our creative community, promote your brand, and help support the future of photography? Become a Shutter Hub sponsor: to find out more, email sponsorship@shutterhub.org.uk
